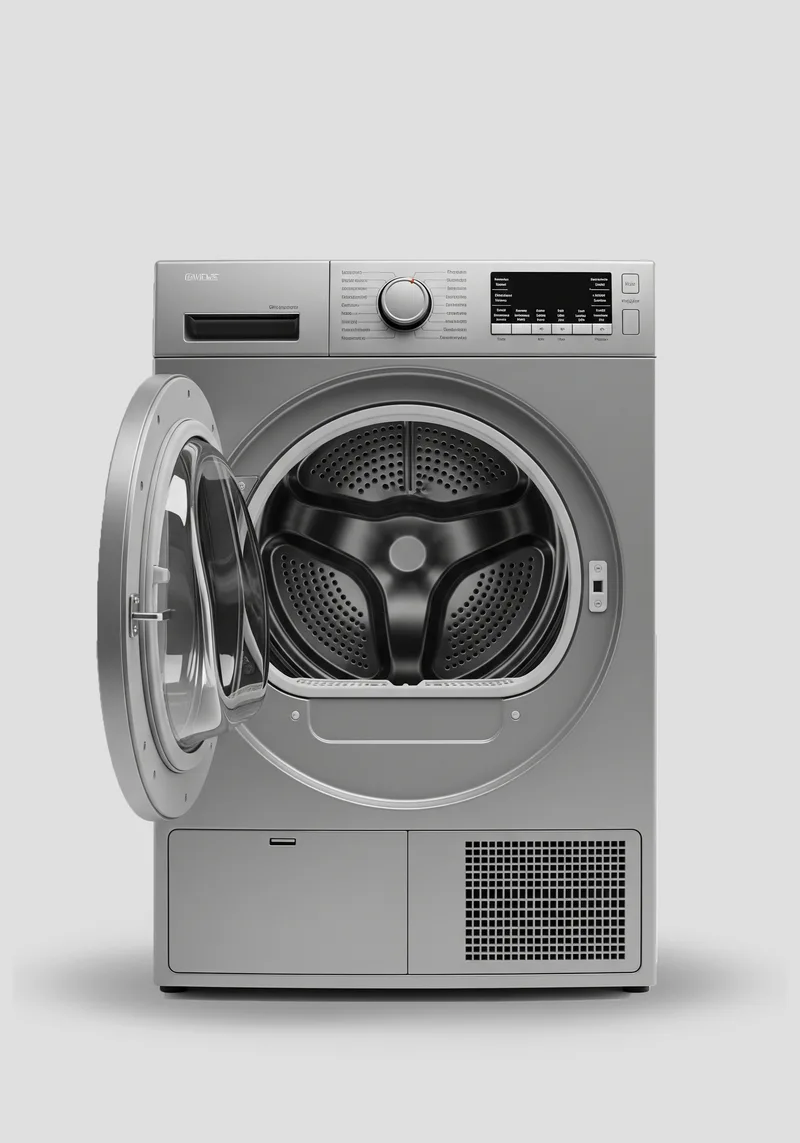
Washer & Dryer Installation
Washer and dryer installation in Denver: hookups, electric and gas dryers, code-compliant venting, stacking kits. Written quote, haul-away, 90-day warranty.
Washer and dryer installation in Denver: washer hookups, electric and gas dryers, dryer venting, stacking kits and pedestals. The Appliance Team installs new laundry pairs across Denver and about 30 surrounding cities, and we haul away the old machines the same day. Every job is priced in a written quote before any work starts, and our installation work carries a 90-day warranty on parts and labor. Same-day or next-day scheduling is often possible. Our technicians repair washers and dryers every day, so they install them the way the manufacturer’s instructions and the code require, and they notice problems in the laundry room before those problems ruin a new machine.
What our laundry installation covers
| Appliance or part | What we do | What we check |
|---|---|---|
| Top-load and front-load washers | Connect new fill hoses, set the drain hose, remove shipping hardware, level | Water valves, standpipe height, floor slope, test fill, drain and spin |
| Electric dryers | Install a UL-listed 3-wire or 4-wire dryer cord that matches your outlet, connect the vent | Outlet type, 30-amp circuit, vent condition and length |
| Gas dryers | Connect to your existing gas shutoff with a new certified flexible connector, leak test | Shutoff valve location, gas type (natural or LP), vent |
| Dryer vent connection | Replace foil or plastic transition hose with listed metal duct, clamp joints | Run length, elbows, crushed sections, exterior hood and damper |
| Stacking kits | Install the manufacturer’s stack kit and stack a matched front-load pair | Model compatibility, ceiling height, access to valves and outlet |
| Pedestals | Mount and level pedestals under front-load washers and dryers | Leveling, door clearance, vibration |
| Old appliance removal | Disconnect and haul away the old washer and dryer | Capped connections left safe and dry |
We install all major brands, including Whirlpool, Maytag, GE, LG, Samsung, Electrolux, Speed Queen, Bosch and Miele.
Before installation day: a short checklist
- Measure the space and the path. Measure width, depth and height of the laundry opening, plus every doorway, hallway and stair the machines must pass through. Leave room behind the dryer for the vent; one Whirlpool dryer manual calls for about 5½ in behind the dryer for a vent with an elbow.
- Find your water shutoff valves. Make sure the hot and cold washer valves are visible and easy to reach, and that they turn. Tell us if they are seized or weeping.
- Check the dryer outlet. Look at the outlet behind your dryer. A 3-slot outlet and a 4-slot outlet need different cords. A photo sent ahead of time helps us bring the right one.
- Confirm the fuel. A gas dryer needs a gas shutoff valve in the laundry room. An electric dryer needs a 240-volt dryer outlet. If you have neither for the dryer you bought, call us before delivery.
- Clear the area. Empty the old washer and dryer and clear a path. If the old machines leave through the same door, we take them out first.
- Keep the paperwork. Leave the manuals, stacking kit and any parts bag with the new machines. Model-specific instructions win over general rules.
Washer installation: hoses, drain, leveling and shipping bolts
Fill hoses
Use new fill hoses on a new washer. Whirlpool’s installation instructions say to use the new hoses supplied and not reuse old ones, to replace inlet hoses after 5 years of use, and to inspect them for bulges, kinks, cuts, wear or leaks. Couplings go on hand-tight plus about two-thirds of a turn, with no tape or sealant. When hoses are not included, we recommend braided hoses over plain rubber; Whirlpool’s own 5 ft braided fill hose kit is rated at 1,500 psi burst strength. Most washers want 20–100 psi of water pressure at the valves.
Drain standpipe
The drain hose must not be sealed into the standpipe. Whirlpool’s drain guidance calls for a standpipe at least 2 in in diameter, with its top at least 39 in and no more than 96 in above the bottom of the washer. Only about 4½ in of hose should go inside the pipe, leaving an air gap so the washer cannot siphon water out during a cycle. A standpipe that is too short, too narrow or partly clogged is a common cause of overflow, and we check it with a test drain before we leave. A laundry tub works too, and a floor drain needs a siphon break kit.
Shipping bolts and leveling
Front-load washers ship with bolts that lock the drum. Whirlpool says they must be removed before use; left in, they cause heavy vibration, noise and damage, and can void the warranty. Top-load models use straps or pins instead. After that, we level the washer side to side and front to back and lock the leveling feet. Whirlpool notes the floor under the washer should not slope more than 1 in, and carpet is not recommended. A washer that rocks or walks during spin is almost always a leveling problem, not a defect.
Electric dryer installation: 3-prong vs. 4-prong cords
Use a 4-wire cord on a 4-slot outlet, and only use a 3-wire cord where the outlet and circuit are an existing 3-wire installation that code still permits. Since the 1996 National Electrical Code, new dryer branch circuits need a separate equipment grounding conductor, which is the fourth wire. NEC 250.140 still lets an existing 3-wire circuit stay in service when it meets specific conditions, for example the circuit must start at the service panel, not a subpanel.
Dryers usually ship without a cord. Whirlpool’s instructions call for a UL-listed cord kit marked for clothes dryers, matched to either a NEMA 14-30R (4-wire) or 10-30R (3-wire) receptacle, on a separate 30-amp circuit. The same manual says a 4-wire connection is required for new branch circuits, mobile homes and anywhere local code does not allow grounding through the neutral. The ground and neutral connections at the terminal block are different for 3-wire and 4-wire hookups, so we wire to the diagram in your dryer’s manual every time, and we never use an extension cord or an adapter. If your outlet is damaged, scorched or the wrong type, a licensed electrician should replace it; we will tell you before we start.
Gas dryer installation
We connect gas dryers to an existing gas supply stub and shutoff valve with a new certified flexible connector, then leak test every joint. We do not run new gas piping. If there is no gas line in the laundry room, a licensed plumber or gas fitter needs to install one, and that work requires a permit. For any other permit questions, check with Denver Community Planning and Development or your own city’s building department.
Manufacturer requirements are specific. GE’s gas dryer instructions call for an accessible shutoff valve within 6 ft of the dryer and in the same room, a flexible metal connector listed to ANSI Z21.24 / CSA 6.10, a plugged 1/8 in NPT test tap upstream of the dryer, and always a new connector, never a reused one. Whirlpool specifies pipe-joint compound that resists LP gas and no Teflon tape. Gas dryers still plug into a standard 120-volt grounded outlet for the drum motor and controls.
Dryer vent rules: what the code requires
A dryer vent should be rigid metal duct, 4 in in diameter, no longer than 35 ft after deducting for elbows, and must end outdoors. These are the main points of International Residential Code section M1502 and the dryer manuals.
| Rule | Requirement | Source |
|---|---|---|
| Duct material | Rigid metal, at least 0.016 in thick (about No. 28 gage), smooth inside | IRC M1502.4 |
| Diameter | 4 in nominal | IRC M1502.4 |
| Maximum length | 35 ft default, minus 2.5 ft per 45° bend and 5 ft per 90° bend; the dryer manufacturer’s length tables may allow a different length | IRC M1502.4.6 |
| Joints | No screws or fasteners poking into the duct; clamps or foil tape instead | IRC M1502.4.2 |
| Transition duct | Listed to UL 2158A, 8 ft maximum, not concealed in walls | IRC M1502.4.3 |
| Termination | Outdoors, with a backdraft damper and no screen | IRC M1502.3 |
| Plastic and foil | Not allowed; Whirlpool says “Do not use plastic or metal foil vent” | Manufacturer instructions |
Lint is the fuel. The U.S. Fire Administration has reported about 2,900 residential clothes dryer fires a year, with failure to clean the leading factor in 34 percent of them. A new dryer on an old, crushed or lint-packed vent will run long, overheat and trip its thermal fuse. If your vent has not been cleaned in years, book dryer vent cleaning with the installation so the new machine starts on a clear run.
Stacking kits and pedestals
Most full-size front-load pairs can be stacked, dryer on top, with the manufacturer’s stacking kit. A Whirlpool 27 in kit, for example, includes hooked steel brackets, replacement dryer feet, clips and screws, and you must check your model number for compatibility. Top-load washers cannot carry a dryer. Before stacking, we confirm the ceiling height, that the washer valves and dryer outlet stay reachable, and that the dryer vent can connect without kinking. Pedestals raise front-loaders to a comfortable height and add a drawer; we bolt them to the machine, level the assembly and test for vibration at full spin.
Installation problems we fix
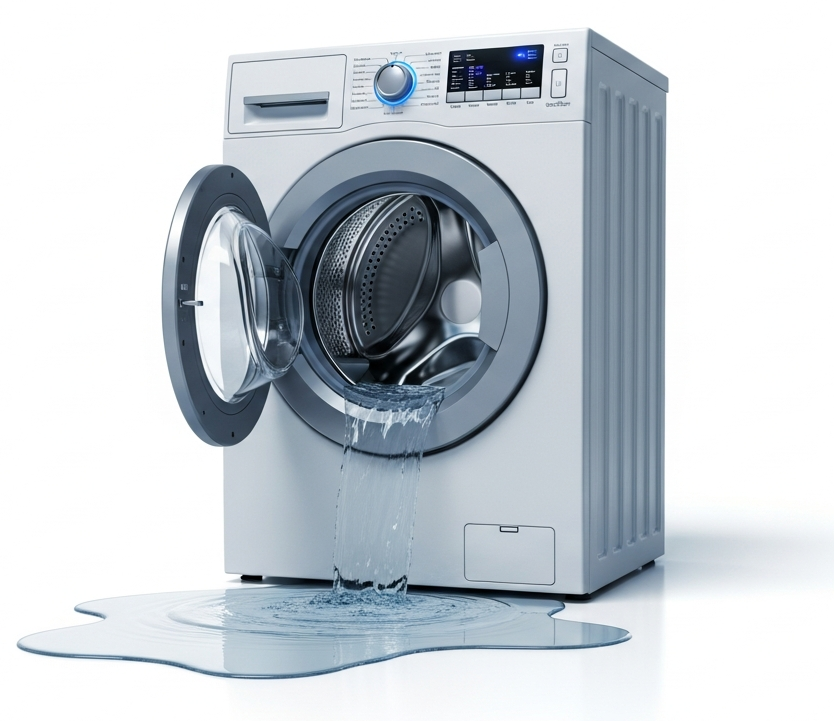
| Symptom after install | Usual cause | Fix |
|---|---|---|
| Washer shakes or walks | Shipping bolts left in, feet not locked | Remove bolts, relevel, lock feet |
| Water on the floor | Loose hose coupling, missing hose washer, overflowing standpipe | Reseat couplings, test drain rate |
| Washer drains during fill | Drain hose pushed too deep or sealed in standpipe | Reset hose to manual depth, open air gap |
| Dryer takes 2–3 cycles | Crushed, long or foil vent, clogged hood | Rigid metal duct, clean run |
| Dryer runs, no heat (electric) | One breaker leg off, wrong cord wiring | Check circuit, rewire to manual |
| Gas dryer no heat | Shutoff closed, air in the line, LP/NG mismatch | Open valve, purge, confirm gas type |
| Gas smell at connection | Loose fitting or reused connector | Shut the valve and call the gas utility; we replace the connector and leak test |
| Stacked dryer wobbles | Wrong or missing stack kit | Install correct kit, relevel |
| Door hits wall or pedestal | Door swing not reversed | Reverse door where the model allows it |
| Dryer cord outlet scorched or loose | Worn receptacle or loose cord terminals | Retighten terminals; refer outlet replacement to an electrician |
How an installation visit works
- Written quote first. We look at the hookups, the vent and the path, then give you a written quote before any work begins.
- Install and test. We connect, level and run each machine through fill, drain, spin and a timed heat cycle.
- Haul away. We take the old washer and dryer with us.
- Warranty. Our installation work is covered for 90 days on parts and labor. Your new machines keep their own manufacturer’s warranty, and we repair in or out of the manufacturer’s warranty later if you need us.
If a vent, outlet or valve problem would put the new machine at risk, we tell you before we connect it.
Washer and dryer installation near you
We install laundry appliances in Denver, Aurora, Lakewood, Arvada, Westminster, Thornton, Centennial, Littleton, Highlands Ranch, Parker and Broomfield. If something goes wrong later, see washer repair, dryer repair and dryer vent cleaning, or our Whirlpool and GE pages.
Common Washer & Dryer Installation Issues We Fix
Why Choose The Appliance Team?
Denver's trusted appliance repair company — professional service you can count on.
Same-Day Service
Same-day appliance repair in Denver — call early and we can often be there today. No waiting around for weeks.
90-Day Warranty
90-day warranty on parts and labor for every repair we perform.
Certified Technicians
Our Denver appliance repair technicians are trained on all major brands and use genuine manufacturer parts.
Transparent Pricing
Service fee waived with repair. No hidden charges, no surprises.













Frequently Asked Questions
We price every installation in a written quote before any work starts, because the job depends on your hookups, vent, cord type and whether you need a stacking kit or pedestals. Haul-away of the old machines is part of the job, and our installation work carries a 90-day warranty on parts and labor.
Match the cord to your outlet. Since the 1996 National Electrical Code, new dryer circuits use a 4-wire connection with a separate ground, while an existing 3-wire circuit can stay in service only if it meets the conditions in NEC 250.140. Dryer manuals such as Whirlpool's call for a UL-listed dryer cord kit matched to a NEMA 14-30R or 10-30R receptacle.
The International Residential Code (M1502.4.6) sets a default maximum of 35 ft for a 4 in rigid metal duct, minus 2.5 ft for each 45° bend and 5 ft for each 90° bend. Some dryer manufacturers publish their own length tables. Foil and plastic duct are not allowed, and the vent must end outdoors with a backdraft damper.
We connect gas dryers to an existing gas shutoff valve using a new certified flexible connector, and we leak test every joint. We do not run new gas piping. A new gas line needs a licensed plumber or gas fitter and a permit, so check with Denver Community Planning and Development or your city first.
Most matched full-size front-load pairs can be stacked, dryer on top, using the manufacturer's stacking kit for your model numbers. Top-load washers cannot support a dryer. We check ceiling height, valve and outlet access, and vent routing before we stack.
Book your laundry installation
Call 720-230-1229 or book online. Same-day or next-day installation is often available across Denver. Written quote before any work, old machines hauled away, and a 90-day warranty on parts and labor.